

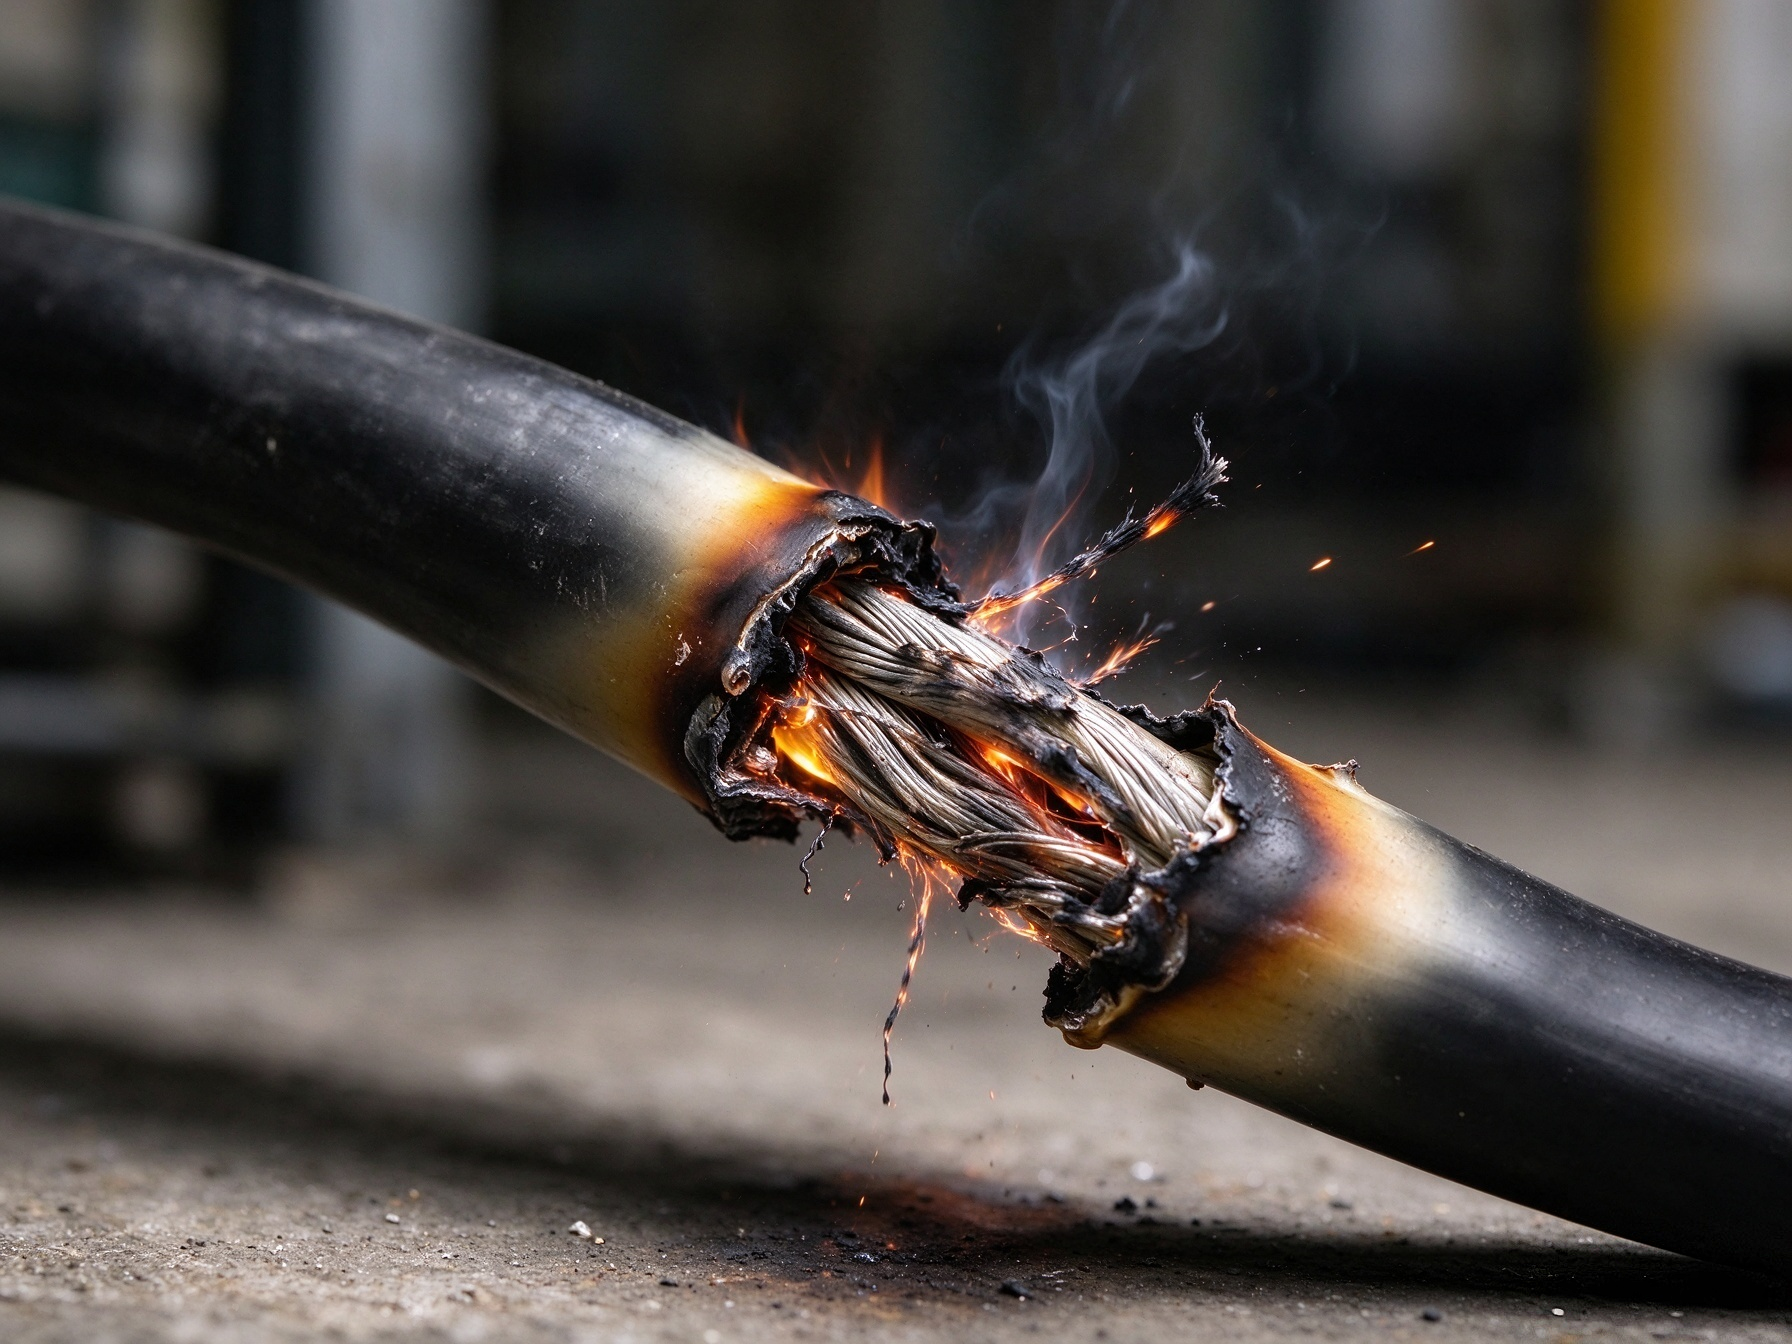
When a power cable fault hits on site, most project teams run into the same problem: power cut is urgent, drawings are incomplete, and there is no extra spare cable on hand. Many junior electricians directly replace the whole cable section, which wastes budget and delays construction schedules. In this post, we share real field steps we have used on construction and industrial sites for years to locate short circuit and ground faults, plus common mistakes you should avoid.
First, make sure safety lockout-tagout (LOTO) is fully done before any testing. Never skip this step. Isolate the faulty cable from both ends, confirm zero voltage with a multimeter, and tell all site workers that the line is under fault testing. This is not a formality. We have seen accidents caused by someone closing the switch without communication.
The most frequent two faults we meet are phase-to-phase short circuit and single-phase ground fault. For phase-to-phase short circuit: insulation resistance between two conductors drops close to zero. Usually it happens at cable joints, bends where the cable was pulled too hard, or places crushed by heavy machinery. For single-phase ground fault: one core touches the armour, conduit or earth. This fault is trickier. Sometimes insulation value only drifts down partially, not to zero, so a simple megger check may miss it.
Here is our regular site workflow:
- Visual check first. Walk the whole cable route. Look for crushed outer sheath, burn marks, waterlogged cable trenches, damaged joints. Many shallow faults can be found without test instruments. This saves a lot of time.
- Megger insulation test. Test each core against earth and between cores. Record readings. If one reading is far lower than others, you already narrow down the fault type. Remember: damp cables will show low insulation temporarily. Dry the joint and test again before judging it as permanent failure.
- Pre-location with a cable fault locator (TDR, time domain reflectometer). TDR gives an approximate distance from the test end. Do not treat this number as exact meterage. Cable bending, joints and different cable speeds will create error. We always mark the calculated position then search around that zone.
- Pinpoint with acoustic thumper. After rough positioning, use the thumper to discharge pulses. Listen for the clicking sound at the fault point. This works well for hard faults. For high-resistance ground faults, you may need to add a surge generator.
- Open and verify. Once you hear clear discharge sound, carefully dig or open the cable tray. Check the sheath and core insulation. Repair with qualified cable joint kits, not ordinary insulation tape.
Common mistakes that kill troubleshooting efficiency:
- Testing the cable while it is still connected to transformers, motors or panels. Load equipment interferes with readings.
- Trusting TDR data blindly and digging only at the exact calculated distance.
- Using low-quality jointing material after fault repair. The same spot will fail again within months.
- Ignoring water ingress. If the trench floods repeatedly, even after repair, new faults will keep appearing. You need drainage or sealed cable entry.
Quick note for project buyers: When you order power cables for long outdoor runs or buried circuits, ask for factory partial discharge test reports. Cables with poor insulation quality tend to develop hidden ground faults after several rainy seasons. Good cable quality cuts your fault repair work a lot.
No method works 100% for every site. Old mixed cable routes, many parallel cables, or cables laid inside steel conduits will make location harder. If your team lacks test gear or experienced technicians, call a professional cable fault service instead of guessing. Wrong digging can destroy longer healthy cable sections and push your downtime higher.
At the end, keep one habit: log every fault. Write down fault type, location, root cause and repair method. After several projects, your own fault database will help you predict weak points before failure happens.

